Fishing Tips: Knots to Know
Posted by Samantha Simma on Aug 19th 2020
What is heartbreak? Heartbreak is watching the catch of your dreams near the surface, only for it to break away and keep you dreaming. Strengthen your odds of securing your catch by keeping a knowledge of knots in your back pocket. This knowledge will become your secret weapon to losing less fish. There are tons of knots out there, but knowing a crucial few, and some tips for success, you will definitely increase your odds of reeling in your dream catch.
Tips & Tricks
Once you’ve reviewed these knots and the steps to secure them, practice, practice practice. Before you’re out on the water, practice at home with a length of fishing line in your spare time. For beginners, it’s good to have the hook you practice with secured--try burying the end in a wine cork so you don’t have to worry about skewering yourself. When getting started, give yourself plenty of line to work with. Once you fine tune things, you’ll be able to perform these knots with less line.
Once you’ve tied a knot, wet it with your saliva and pull it tight. The saliva acts as a lubricant to decrease damage to the line. When you’re tightening your knot (also called “seating” the knot), pull on both ends of the line trailing from the knot. The end attached to your reel is referred to as the “standing end,” while the excess line from the knot is the “tag end.” Trim the excess tag end, as close to the knot as possible, without compromising the knot.
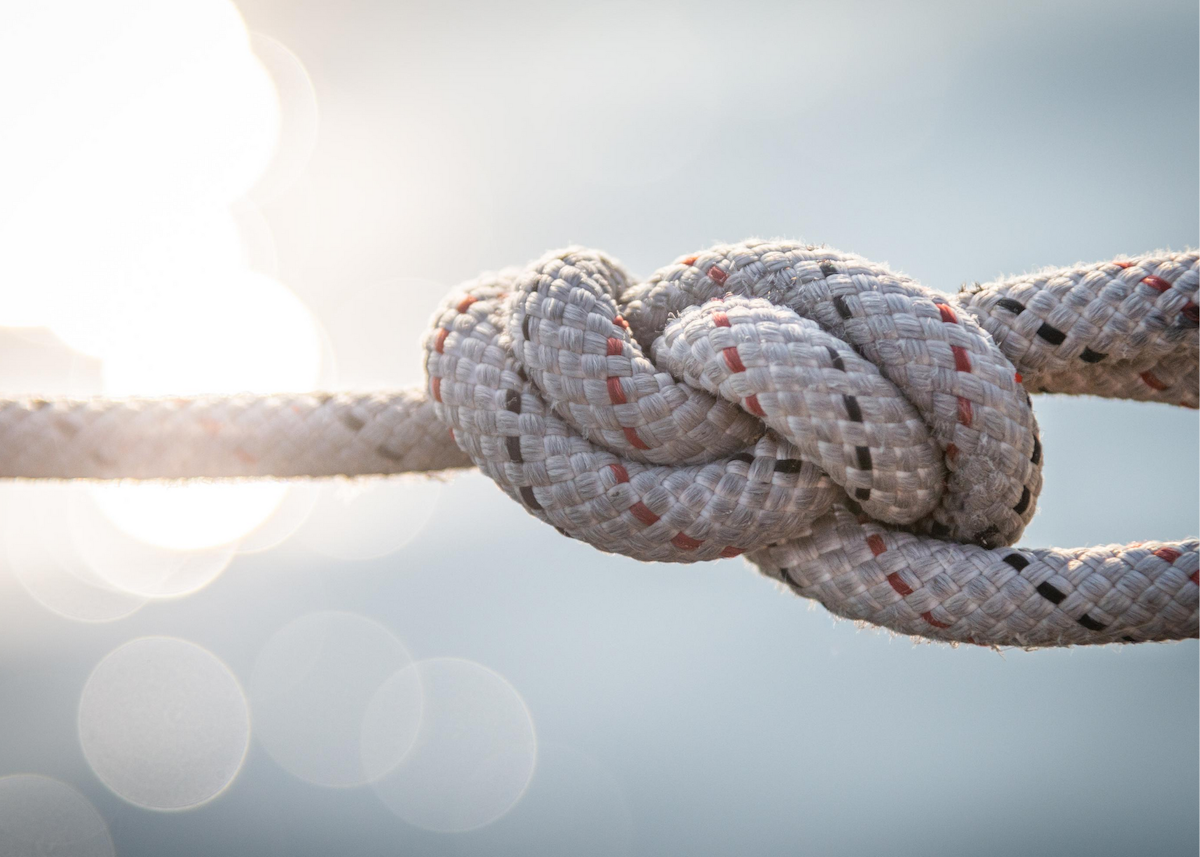
Knowing the right knots for securing your hook, lure and tackle will increase the strength of your line. They say that an improper knot can weaken your line’s strength by more than 50 percent! That being said, here are some knots to have in your angler arsenal:
To Tie on Lures & Hooks
Palomar: This knot requires more line than most. Make a loop with at least four inches of line. Pull the end of the loop through the eye of the hook (or lure) and make a loose overhand knot. Your hook or lure should dangle from the center of this overhand knot. Then, put the end of the loop over the sharp end of the hook, pulling the hook end and the standing end of the line tight.
Improved Clinch: First, thread the line through the eye of your hook and then double back the end of the line (so the tag end and standing end are parallel). Spiral the tag end around the standing end five times. Take the remaining tag end and thread it through the first spiral (next to the eye of your hook). Then, thread the end through the loop made when you went from the end of the spirals back to the eye of the hook. Pull tight and trim.
To Join Two Lines
Surgeon’s Knot: Place the two lines parallel to each other, with about a six-inch overlap. Tie a loose overhand knot with the two ends (so it looks like a pretzel). Fold the ends back toward each other to go through the center of that first knot for a second time. With equal pressure on all four pieces of line leaving the knot, pull it tight.
Blood Knot: Take your two tag ends of line. Spiral one line around the other five times, tucking the end between the two lines (at the start of your spirals). Repeat with the second line, spiraling around five times in the opposite direction and tucking away the end (where the spirals meet in the middle). Hold all four ends of line as you tighten.
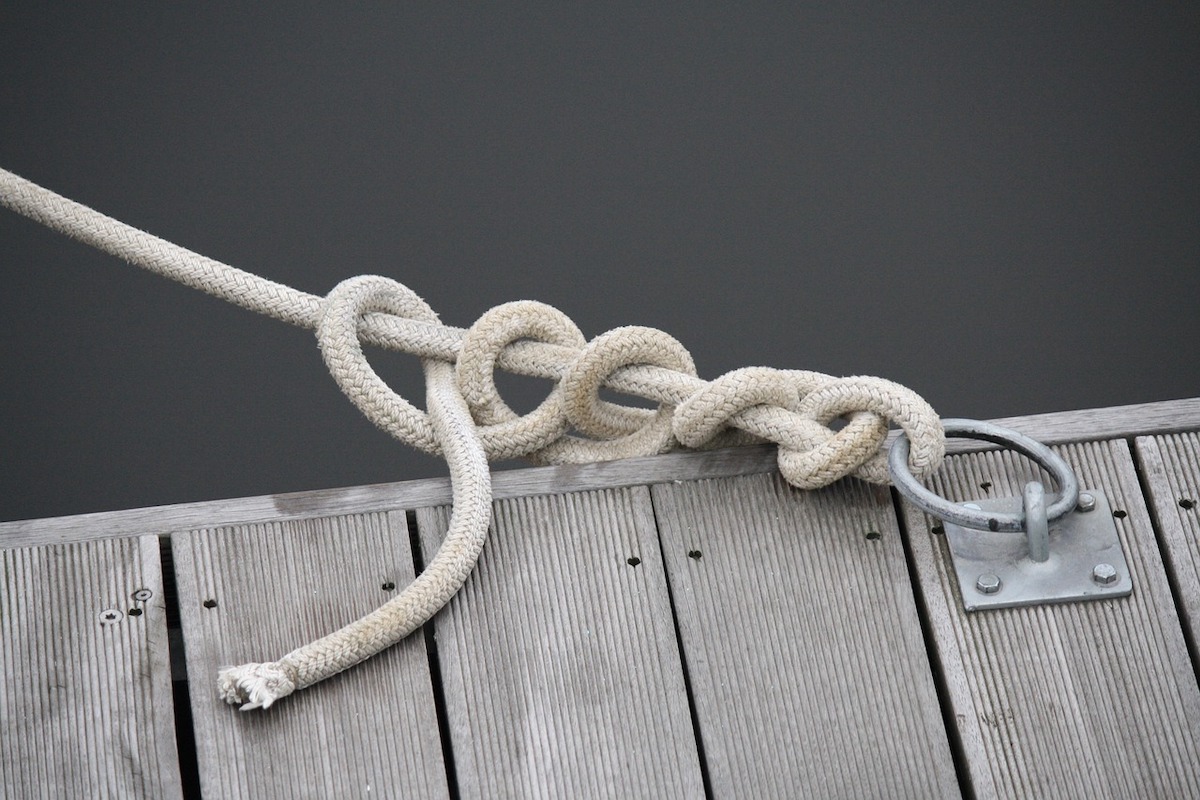
To Make a Loop
Surgeon’s Loop: Fold back the tag end to make a loop. With that loop, tie an overhand knot, but don’t pull it tight. Instead, thread the loop back through the eye of the knot. Then pull it tight.
Figure-Eight Loop: Make a loop with the tag end of your line. Fold the end of the loop back (forming a loop with the looped end), cross over the line, and figure eight it back through the first loop.