
Tips for Trail Camera Scouting Success
Posted by Samantha Simma on Jan 31st 2021
Is there such a thing as the perfect trail camera setup? Well, like most situations in the sport of hunting, there are a lot of variables involved—mostly dictated by the property you’re scouting. But the success of using a trail camera comes when it is able to provide you with information on the animals you’re after come hunting season, including their movements, patterns and herd health.
While a lot can be said about the type of trail camera you purchase and how it performs as far as image quality, speed and storage, there are a few steps you can take to help scouting success come your way…
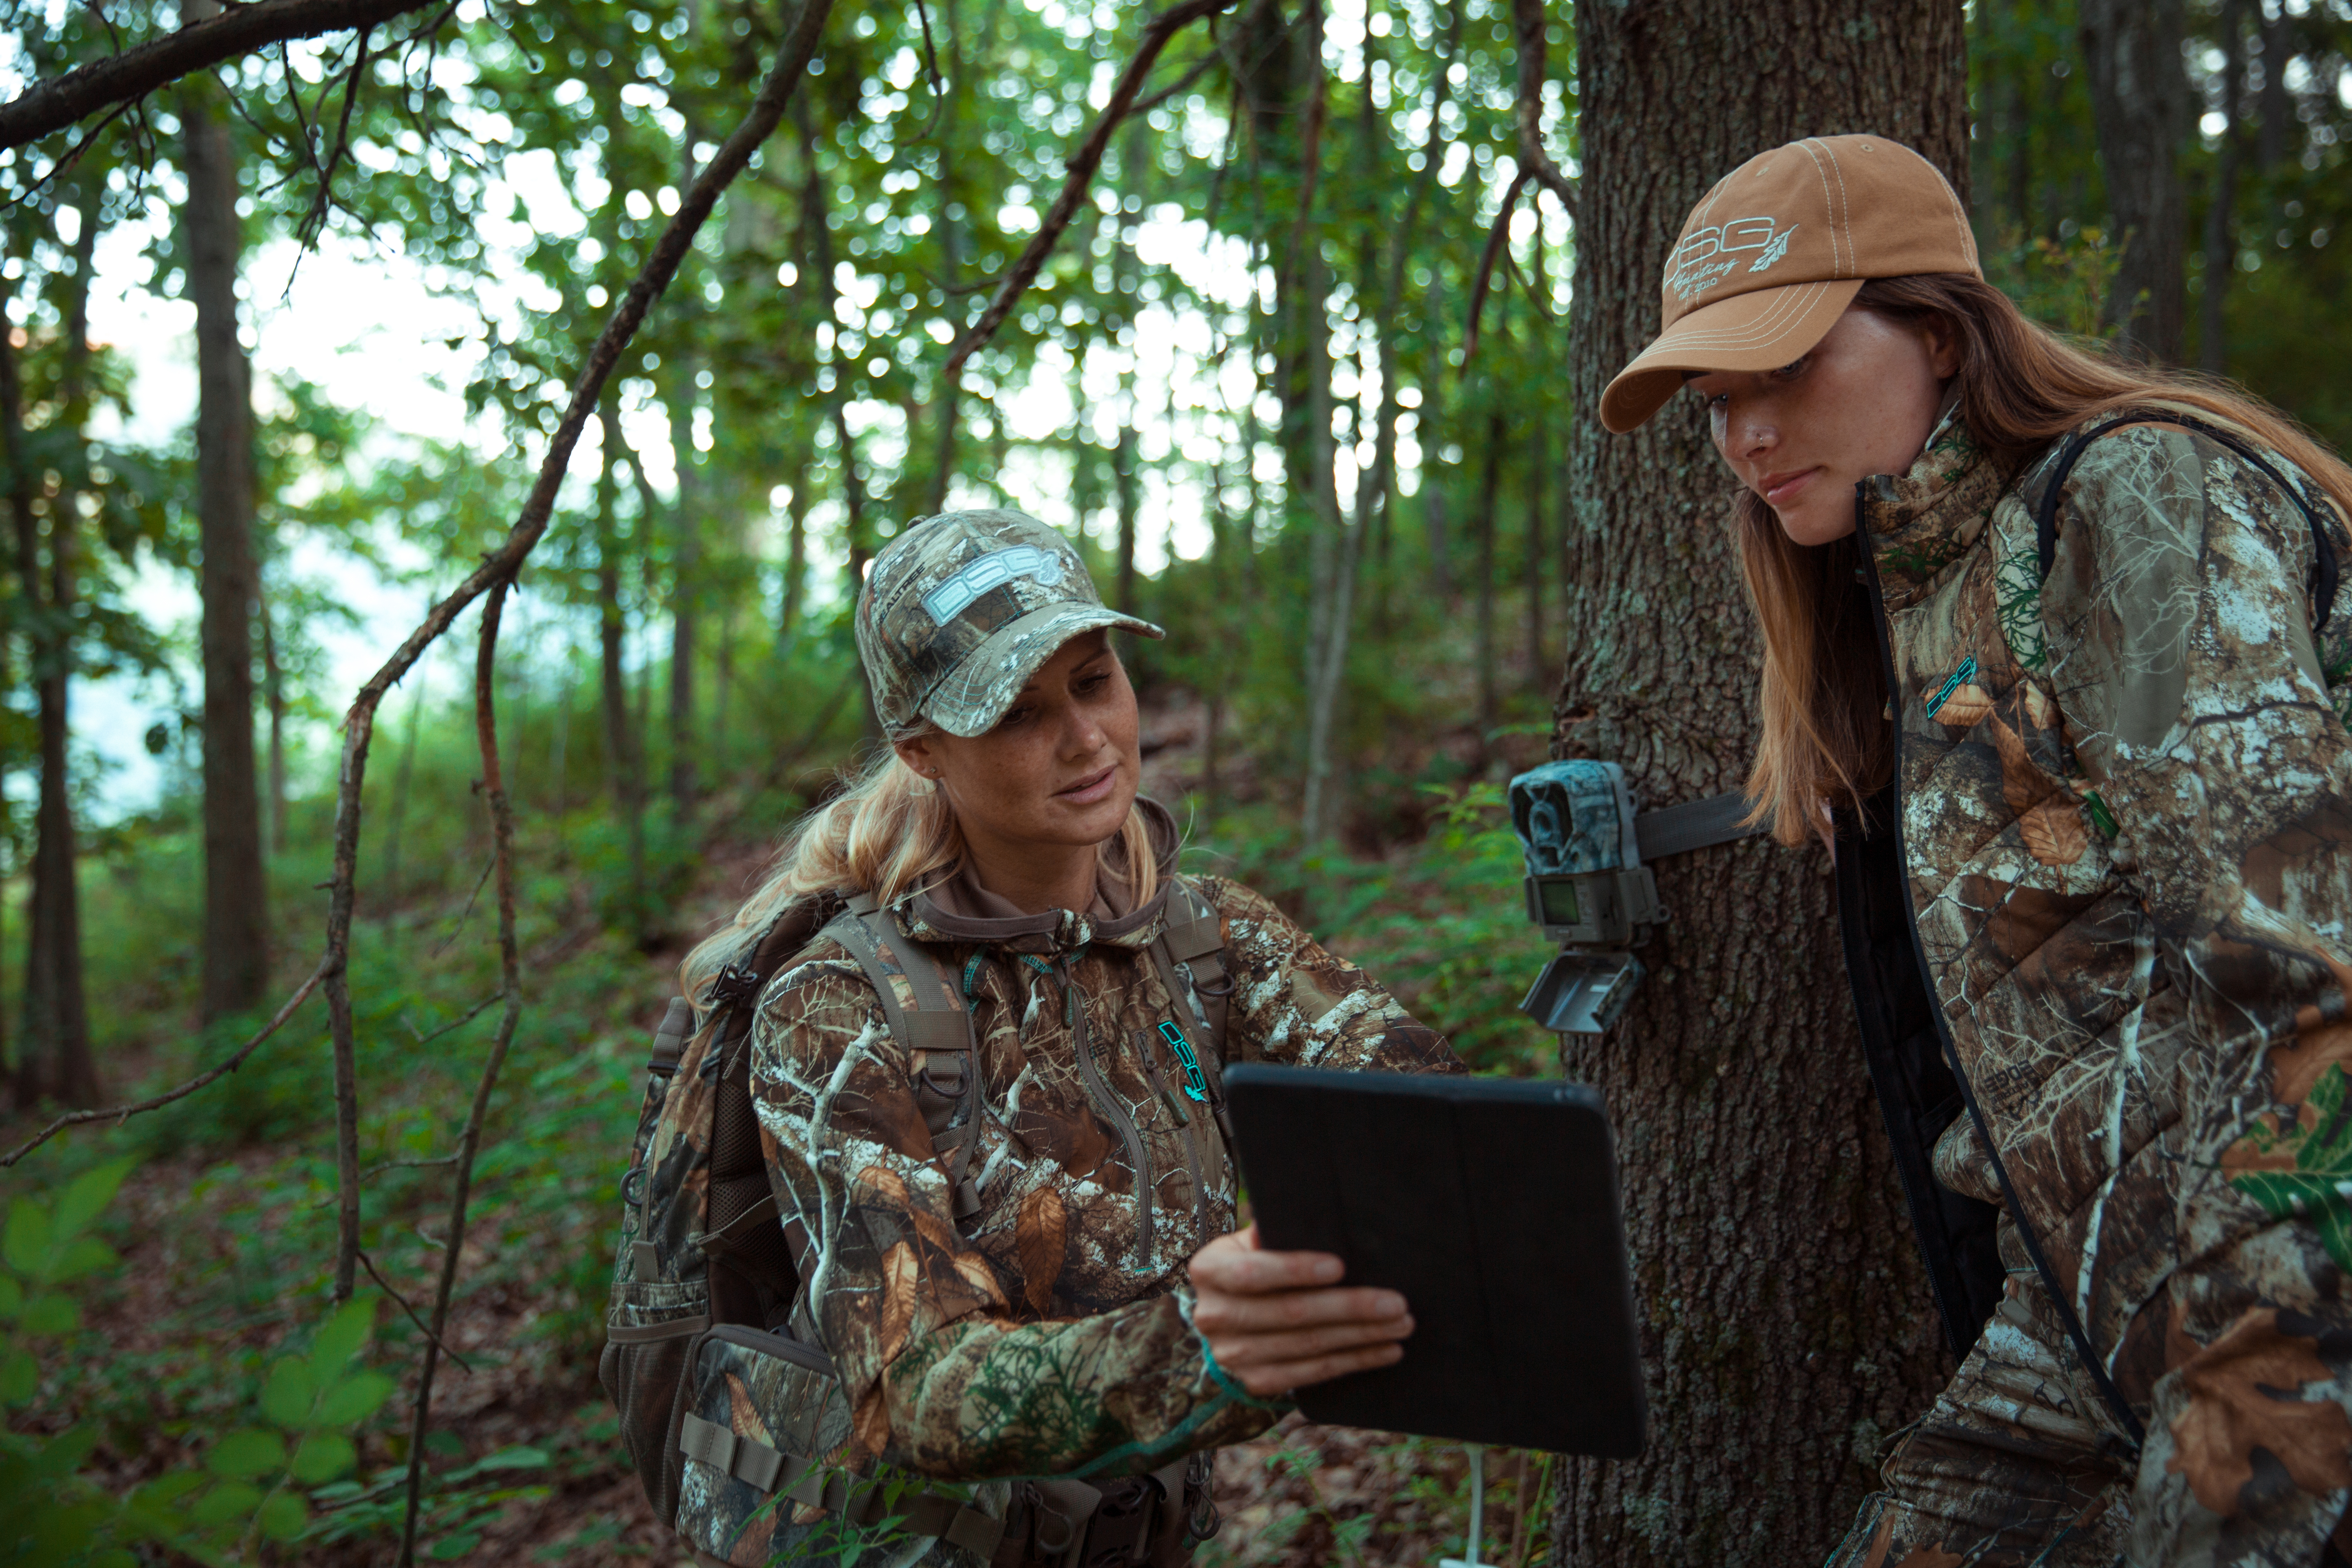
Warm climate items like the Bexley 3.0 Ripstop Tech Pants and Tech Shirt double as great options for heading into the woods to setup trail cameras.
Setup
Trail camera technology is constantly evolving, and the saying “you get what you pay for” definitely applies to these devices. You can get yourself a trail camera according to what you can afford, but know that if you’re on a budget, you’ll likely sacrifice some image quality and camera performance features. Modern trail cams are becoming increasingly wireless. Some require their own wireless data plan in order to send you your images directly to your email, computer or smartphone. Those that are attached to smartphone apps have advanced capabilities for analyzing the movement and antler score of the bucks that pose for your photos. As with all electronics, be on the lookout for firmware updates, so that your camera is up-to-date with the company’s latest bug fixes.
For cameras with a memory card, invest in the one you can afford with the highest storage capacity. You want your camera to be left alone for as long as possible, so that you don’t disturb the wildlife in its location. Therefore, cameras that have a lot of storage or that send you the images electronically have to be checked less. Similarly, swapping batteries can require you to check your camera more frequently, so invest in lithium batteries that are better at withstanding variable temperatures and have a longer lifespan.
Before you take your trail camera out into the woods, test out everything—its various settings and modes—at home. You want to know the ins and outs of how it works so that you can minimize your setup time in the deer’s habitat. Get familiar with the different capture modes, which today include photo bursts, single images, video, timelapses, etc. Then, get to know the sensitivity settings. Sensitivity will determine what movement triggers the camera: a leaf falling versus a big buck walking through the area. Additional options include photo delay times, the number of images captured in a photo burst, and so much more!
At the very least, make sure the date and time settings on your camera are correct. You want to make sure the information you’re gathering is accurate, and it helps you keep your files organized. If you’re using multiple cameras with memory cards, number the memory cards and cameras, so that you can identify the photos’ specific locations. And wherever you’re storing your images, create a file naming organization system. You don’t want to accidentally mix up your photos from multiple seasons!
Location
You’re probably already very familiar with your hunting area, and thus, the area you’d be scouting with your trail camera. But if you aren’t already, start with Google Earth to understand the topography of the land there and its terrain features. Try to identify the various components of the deer’s habitat, including wallows, watering holes, feeding areas, bedding areas and game trails. You’re going to want to scout these areas, where the deer are most likely to spend their time in or moving between.
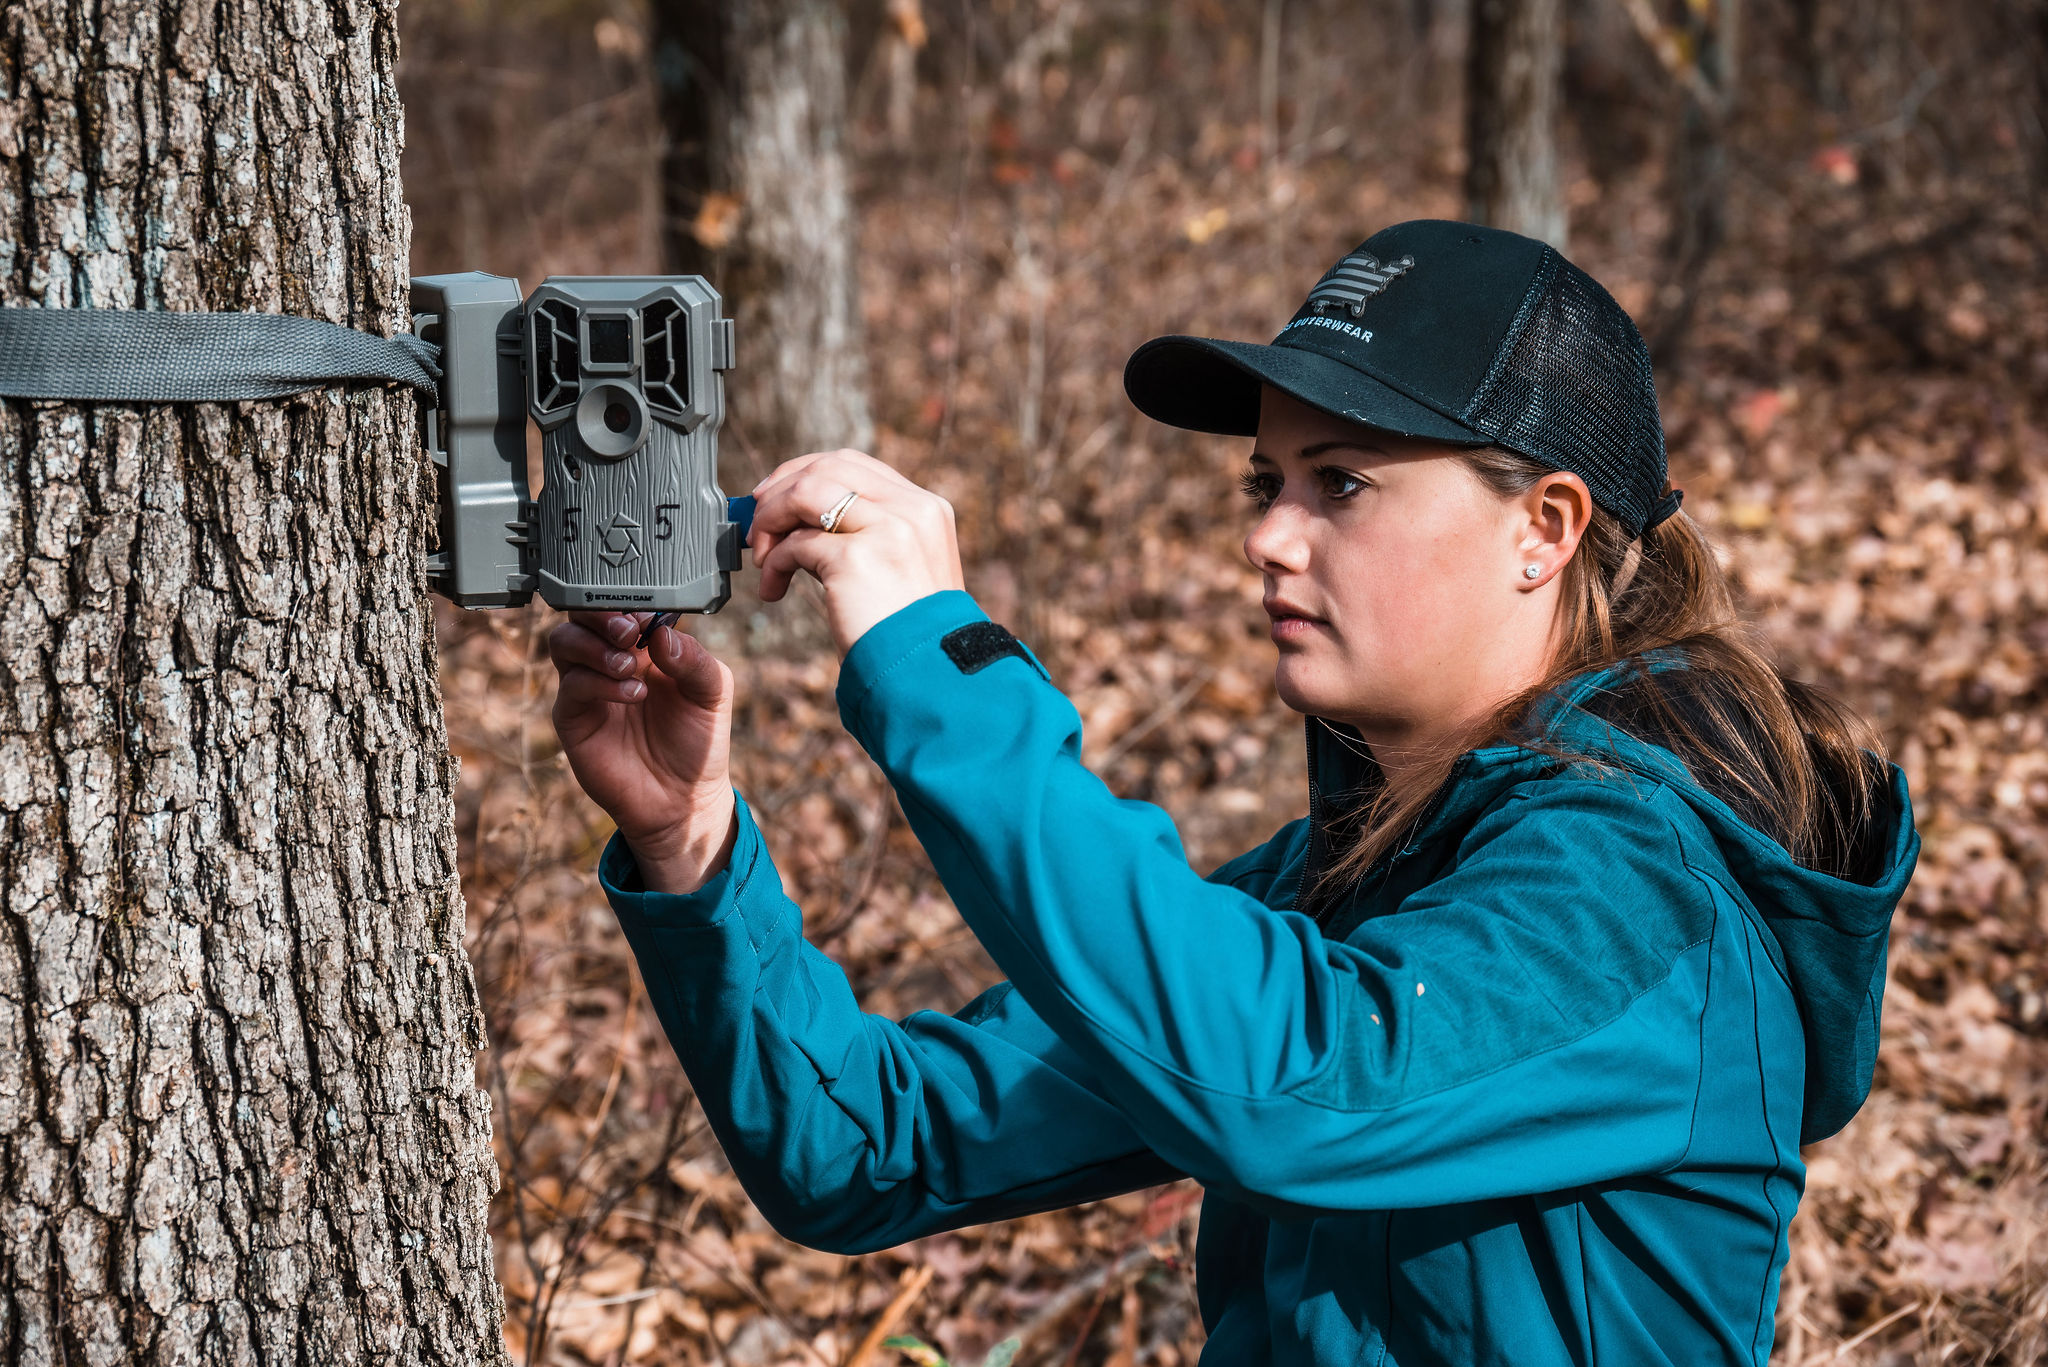
The Malea Softshell Jacket, featured here, is a great option for all your errand running--including those that are in the woods pre-season.
Water and feeding areas usually provide more opportunities for photos. The animals spend more time here because they aren’t traffic zones. Trails are harder because the animals are on the move, but the information provided by both is equally valuable. Make sure you know the regulations in your area, and whether or not you can leave out bait or other attractants, like mineral blocks. Anything that will encourage the animal to stand still will help you gather clearer images. Alternatively, you can place a mock scrape in the area during hunting season, encouraging bucks to scent check the scrape. On the other hand, give fresh rubs and scrapes their space (30 to 50 yards). Mature bucks in pre-rut may freshen these scrapes, and you don’t want the camera to disrupt this natural behavior.
Try to find an area to and from this location where you’ll have minimal impact. Think of your trail camera’s location as an area as sensitive as your tree stand’s location. You want to approach and exit the area as quietly as possible and without leaving behind your scent. This means handling the camera minimally while mounting it and visiting the area in rubber boots if you have them. Consider using scent-free gloves during setup and whenever you check in on it. If you can, check it on rainy days, letting the rain naturally neutralize some of your scent. Lastly, use scent-blocking spray on the unit or wipe it down with scent-free wipes (both the camera and its mounting equipment).
Position
You’ve picked your area, now what tree do you choose? Pick a tree that provides a wide vantage point of the area you’re trying to monitor. If you’re looking at a game trail, select a tree that will afford you a lane of sight down the trail—you want to see the animal approaching or retreating, not just passing across the frame for a split second. Whenever possible, make the camera’s presence more subtle by picking a location that’s about ten yards away from what you’re targeting. If the area is limited on trees, look into stakes or alternative mounts for your camera that will still blend in with the surroundings.
Once you’ve identified a precise location, write down the coordinates of that location so your camera doesn’t get lost in the woods (it does happen). Then, choose a height for the camera. Most manuals recommend 3-4 feet high, but if you go slightly higher, above eye level, the camera’s clicks or flash are less likely to disturb your prey. At this slightly higher position, you can wedge a stick behind the top of the camera, providing a slightly downward angle that affords a wider, bird’s eye view of the area.
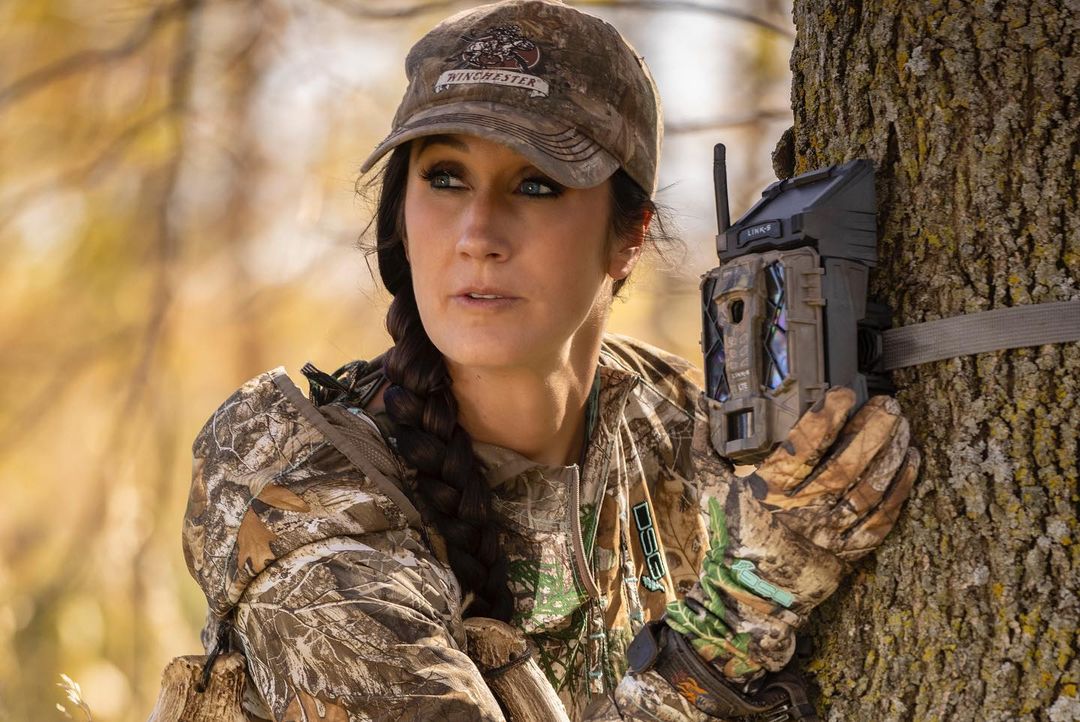
The D-Tech Liner Gloves provide just enough warmth and camouflage on brisk mornings.
Also, a higher camera is less likely to be seen by potential thieves. Consider a security lock on your camera or deter trespassers on private land with trespassing signs warning people that the area is under video surveillance. Unfortunately, you see it all the time in online hunting groups and forums—people will cut down or take trail cameras.
When you mount the camera, make it as tight to the tree as possible. You don’t want weather, wind or an errant critter knocking your camera around. Whenever possible, aim the camera to the north or south. Sunlight is the enemy of solid trail camera images—causing lens flare and completely blowing out your pictures. Clear the area around the camera’s lens and flash area of branches and foliage. There’s nothing worse than looking at your first set of images only to see a branch taking up half the frame. And, if a leaf hangs in front of the flash, only the leaf will be illuminated, not the area you’re after.
Draw Careful Conclusions
You’ve got your shots, now what? Consider the information you gain from your trail camera images in context. That means—don’t look for patterns if there aren’t any and if you’re not having good luck, remember that that’s still helpful information. Check your camera for any malfunctions and be willing to mix up the location of your camera placement.
Like all hunting scenarios, you’ll continue to learn as you go, especially from the times you come up empty-handed. In the meantime, use these tips for trail camera scouting success to get started scouting with a trail camera.