
Safe Snowmobile Loading and Unloading
Posted by Samantha Simma on Jan 23rd 2020
A lot can happen in a crowded parking lot—there are a lot of moving parts (and people). Throw in a lot of snowmobile throttles, and you have the perfect recipe for disaster…potentially. But, like all riding situations, with an air of caution and spatial awareness, we’ll all get off the truck or trailer and onto the trail in one piece.
Trailers
There are all kinds of trailers out there: open-tilt, covered tilt bed, V-nose, covered non-tilt and basic non-tilt. Not to mention all the additional add-on potential in the realm of traction mats and strips. For now, let’s look at the basic loading principals for an open-tilt trailer, all of which are applicable to other trailer styles. Some may opt for the snowbank solution: backing up a trailer or truck bed to a snowbank in order to load and unload the snowmobile. However, snowbanks of optimum height are not always readily available, and when they are, snow is unstable, making any guarantee of a stable approach impossible.
The benefit of the tilt trailer is that the trailer simultaneously serves as a ramp. For any trailer, make sure the ball and hitch system matches the trailer and its load. Additionally, check the tires, lights, and reflectors. Lock and secure the hitch latch and hook the safety chains in an X pattern. Ideally, you’d load and unload in a flat, open area that is clear of traffic and obstructions. In reality, most parking lots don’t offer that kind of real estate. In any case, be conscious of surrounding vehicle and pedestrian traffic. Clear the trailer of any gear and have your buddy stand beside the back of the trailer (on the opposite side from you loading activities, to avoid running over any toes).
Approach the trailer with enough distance to give you steady, consistent momentum. It is recommended that snowmobile loading and unloading is done while sitting, with your helmet on, as a standing snowmobiler can be more easily displaced from the snowmobile. Once the snowmobile is positioned on the trailer, hit the kill switch, remove the key and secure the ski bar. Confirm that 2/3 of the snowmobile’s weight is ahead of the trailer wheels and lock the trailer’s tilt mechanism. Ratchet down the back of the sled to secure the sled from bouncing or moving around on the trailer in transit.
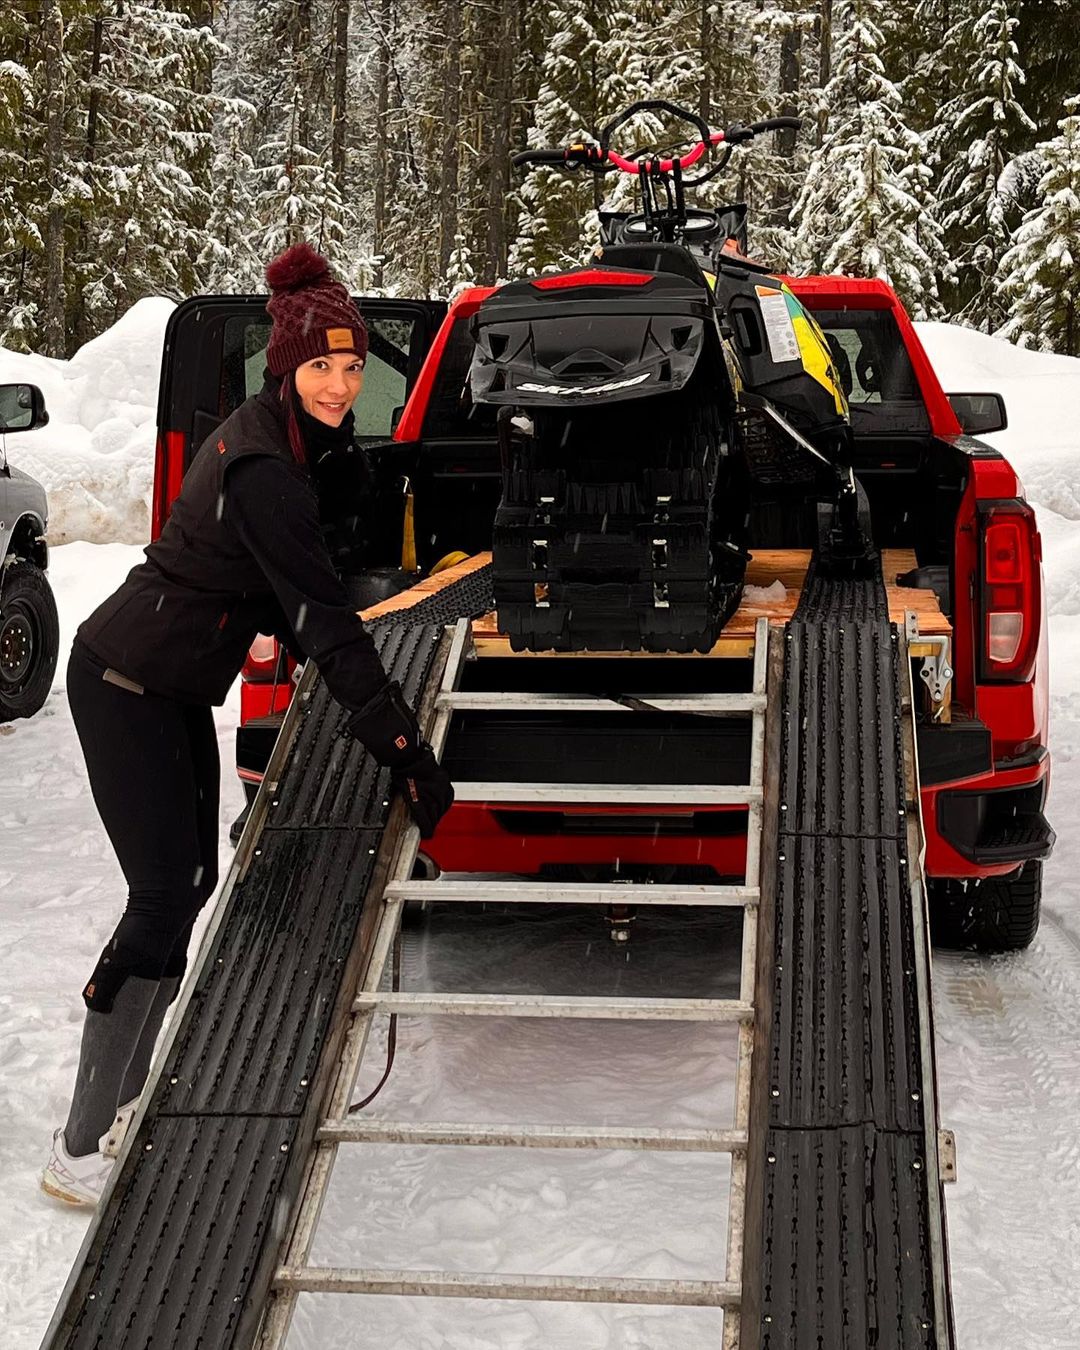
Ramps
Many hauling systems involve a ramp. Whether that ramp leads to a fixed trailer, a sled deck or the back of a truck, they can be daunting mechanisms. That enthusiasm you had for hill climbing off the trail can easily go out the window when you’re squaring up to a metal ramp that leads to the back of your truck and the truck’s back windshield. With a few simple tips, you can approach this situation with a confidence that will lead to a safely loaded and secured snowmobile.
Like most snowmobiling situations, consider your body positioning—keep your hips and shoulders square and aligned with the ramp. Standing back a bit on the running boards allows for more directional control and lowers your center of gravity on a climbing snowmobile. Keep a finger on the brake for control and in case of an emergency. You’ll want to hit the ramp with enough speed and momentum to carry you to the top. Accelerating on the ramp is dangerous, and can be more difficult to control when the track catches on the ramp’s rungs. Start at least one snowmobile length away from the ramp and be smooth and consistent with your throttle. Focus on the top, center of the ramp. Having this aiming point will inherently aid your direction and speed control. When it comes time to reverse this system, don’t back off a ramp while twisting around to see your landing point. Shifting your weight like this will manipulate the snowmobile and make it difficult to back straight off. Slowly, with control, focus forward while you back straight off the ramp. In all these scenarios, make sure that your ramp system is safely secured to the truck or trailer, and is secured during transport.