
5 Steps to the Perfect Shore Lunch
Posted by Samantha Simma on Aug 12th 2021
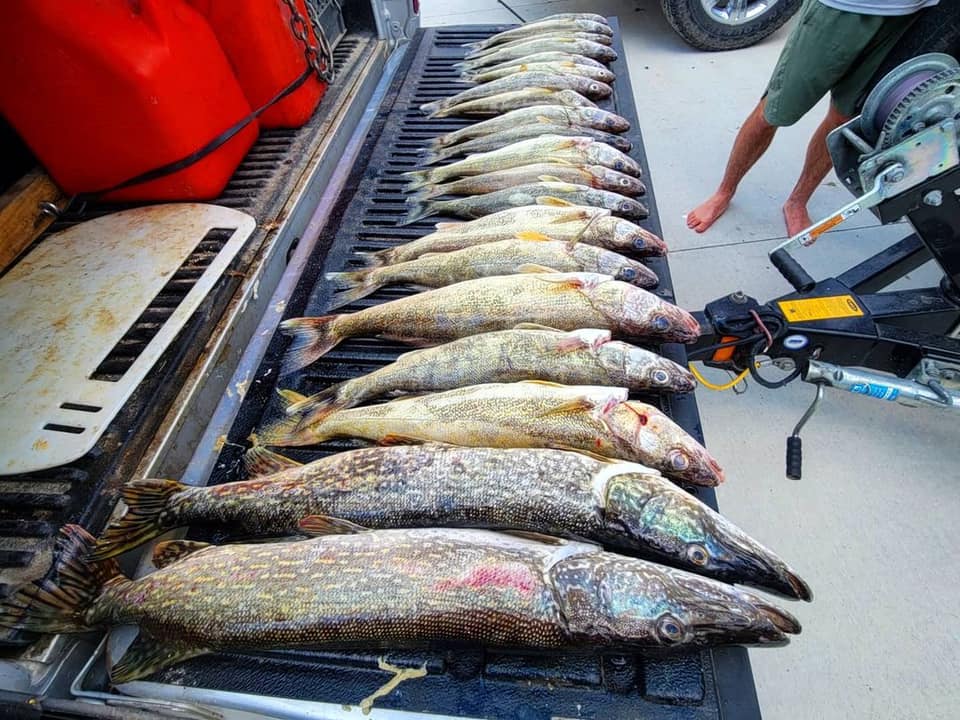
A shore lunch is aptly named—it refers to when you fry up the fish you’ve caught on a river or lake right there along the shore. This tradition is particularly popular in northern areas and especially Canada. Regardless, some regions will put their own spin on this ritual. For now, we’ll break down the simple steps to turn your freshly caught fish into a delicious shore lunch.
Step One: Preparation
You’ll need to know that you want to prepare a shore lunch before you head to the water, so that you can have the proper tools and utensils on hand. For your fire, you’ll need to pack matches or a lighter. To prepare the fish, you’ll want a sharp fillet knife. It’s not a bad idea to bring along a knife sharpener, as cleaning just a few fish can quickly dull your blade. Then, think about where you’ll do your cleaning. Some people get by with just the top of a cooler, but you could pack along a cutting board too.
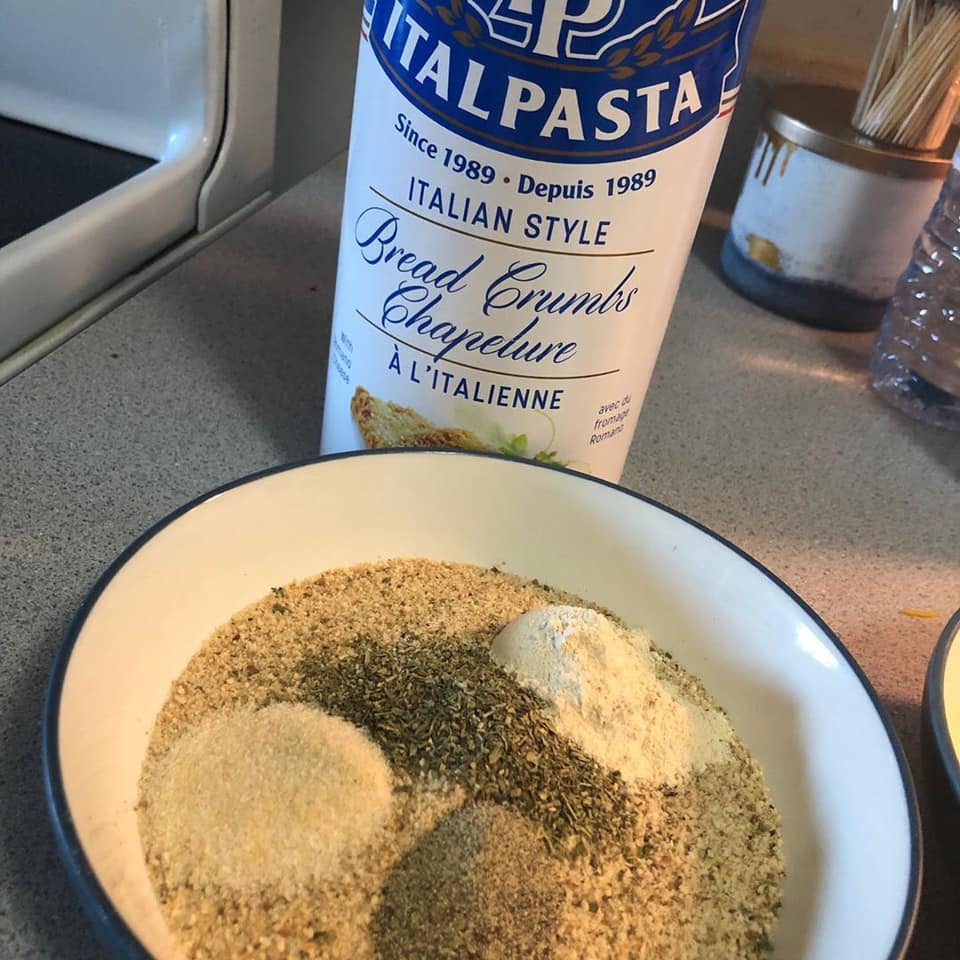
As far as cooking tools, you’ll first need a pan to fry in. Cast-iron skillets are great, but heavy, so any non-stick frying pan will do the trick. For handling your pan and the fish, you’ll want fire resistant gloves and long-handled tongs. Next up would be your ingredients: flour, salt, pepper, eggs, oil and breadcrumbs. You can pre-season your flour mixture with salt and pepper, but some additional travel packets are great for that final touch, as is some fresh lemon. Bring your eggs already cracked and beaten, and then store them in a recycled jar with a tight, screw-on lid. Finally, canola or peanut oil are your best options for frying up your fish.
Step Two: Turn Up the Heat
Before you can do any cooking, you need to get a fire going. Gather kindling and firewood and get the fire hot until there’s a solid bed of coals. Smaller sections of wood—about the size of your wrist—make maintaining the ideal temperature easier than large logs. Once everything’s hot, you want to be able to control your heat source, and flames can be unpredictable. You don’t want flames leaping over the side of your skillet and starting a grease fire.
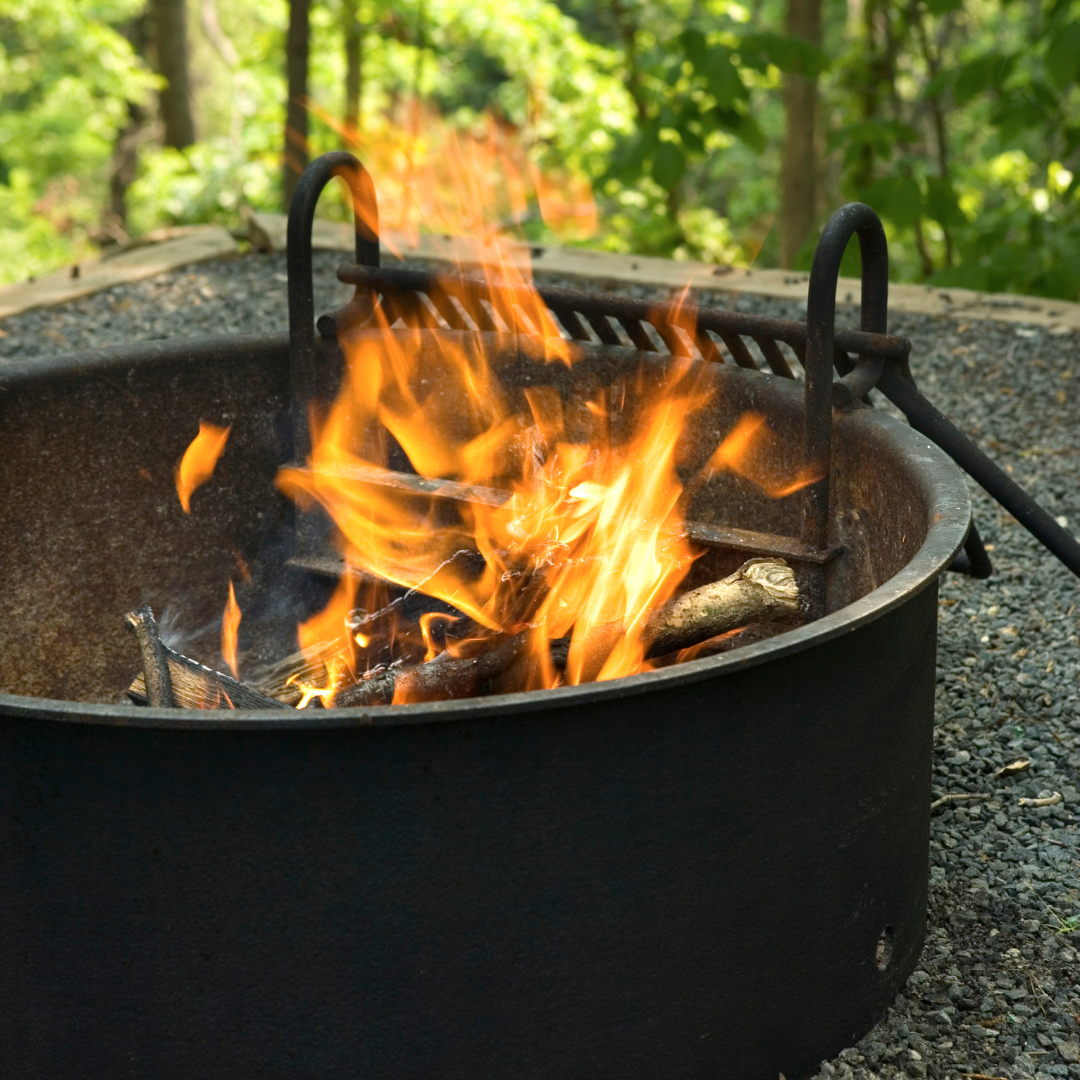
When it comes time to do your cooking, ideally you would have a grate about twelve inches above the coals, rather than cooking directly on them. If open fires are not allowed in the area you’re fishing, a portable stove works as well.
Step Three: Ready Your Fish
Fillet your fish, and then pat it dry. At this point, some prefer to coat it in hot sauce, which adds a subtle kick to the final result. Otherwise, you’re ready to start coating the fish fillets. To do so, there are two options: toss the fish in each layering ingredient in plastic bags, or bring along disposable aluminum foil loaf pans to do your dredging.
First, you’ll coat each fillet in the flour. Gently shake off any excess flour, but make sure there’s a consistent layer on all sides. Next up is the egg wash. Dip the fillet in the beaten eggs, coating both sides, and then it’s on to your breadcrumbs. You’ll want to dredge the fillets in the breadcrumbs of your choice enough to achieve an even layer that doesn’t allow for any moist spots to soak through.
Step Four: Time to Fry
Before dredging your fish fillets, get the oil heating in the pan over the fire. Again, canola or peanut oil work best, but some people will also just pan-fry in lard. Lard has a high fat content, which helps crisp up the fish. For the most part though, oil is the preferred way to go.
The oil is hot enough when it pops and sizzles immediately after you add a small piece of fish. Carefully slide a few fillets in the oil, being sure not to crowd or overflow the pan. If you add too many at once, the oil will have a difficult time staying hot enough to fry each fillet consistently. It should only take two to three minutes for the fish to get a crisp, brown exterior. Be careful not to get distracted, you don’t want to forget your fish!

Step Five: Dig in!
Have a plate or bowl with a layer of paper towels on it for the fish fillets to rest on after you’ve cooked them. This will soak up any of the additional hot oil. Finally, as soon as you can, dig in so that fish doesn't get cold.
Now, those who are ambitious about their preparations will have packed along some sides. Coleslaw or potatoes to fry make great accompaniments. And while we love just a simple squeeze of lemon on the finished fish, you might be able to find some travel packets of sauce too if that’s what you prefer (i.e. hot sauce, barbecue, tarter sauce).
At the end of your fish feast, make sure you pack out everything you brought in. The area should look like you were never there, but your memories of eating delicious, freshly caught fish will last a lifetime!